How to Remove Jeep Wrangler Rear Wiper Arm in 7 Easy Steps
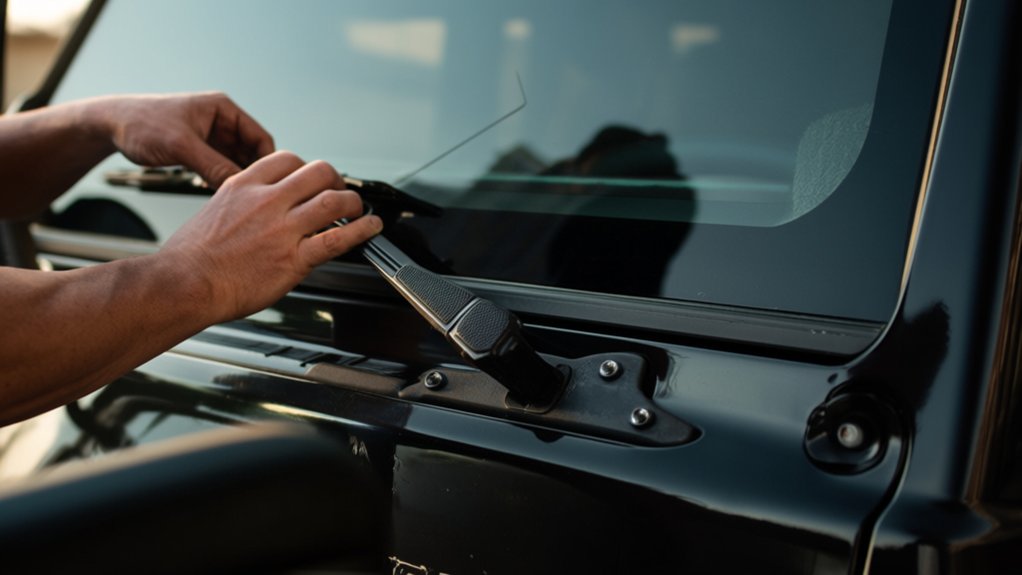
To remove your Jeep Wrangler rear wiper arm in seven easy steps, start by gathering basic tools like a flathead screwdriver and socket wrench. Open the tailgate and lift the wiper arm for access. Pry off the small cap at the base to expose the mounting nut, then loosen and remove it. Carefully pull the wiper arm off the motor shaft, inspect for damage, and decide whether to reinstall or replace it. Keep going to uncover tips for ensuring smooth operation and proper fit.
Gather Tools Needed for Jeep Wrangler Rear Wiper Arm Removal
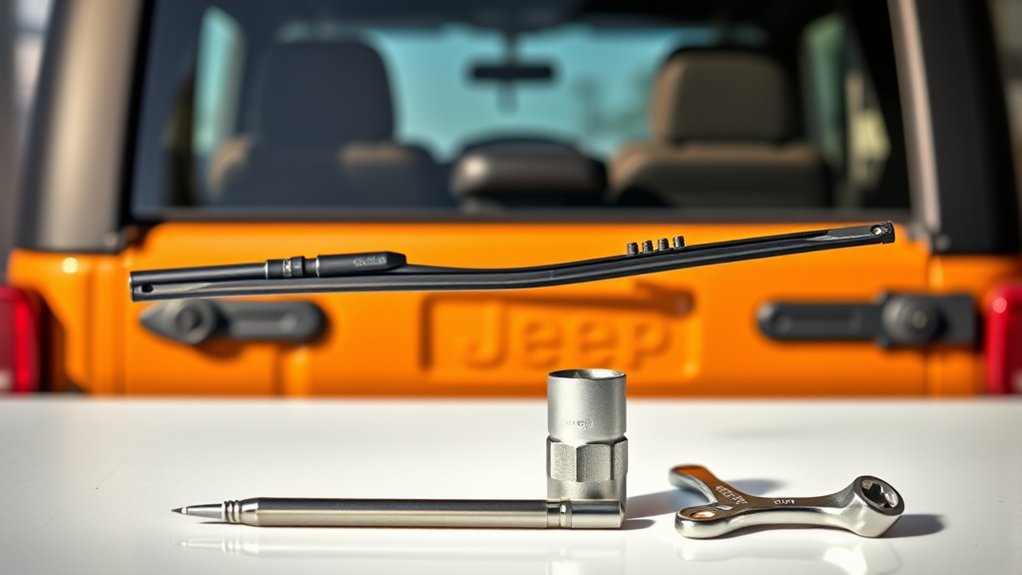
Before you begin removing the rear wiper arm on your Jeep Wrangler, make sure you have all the necessary tools on hand. You’ll need a flathead screwdriver, a socket wrench set (typically 13mm), and a pair of needle-nose pliers.
Having a rag or cloth handy is useful to protect your paint and clean any dirt or debris.
If you want to avoid damaging the wiper arm or surrounding parts, a wiper arm puller tool can be very helpful, though it’s optional.
Finally, keep a small container nearby to hold nuts or screws so you won’t lose them.
Gathering these tools beforehand will ensure the removal process goes smoothly without interruptions or frustration.
Find and Access the Rear Wiper Arm Assembly
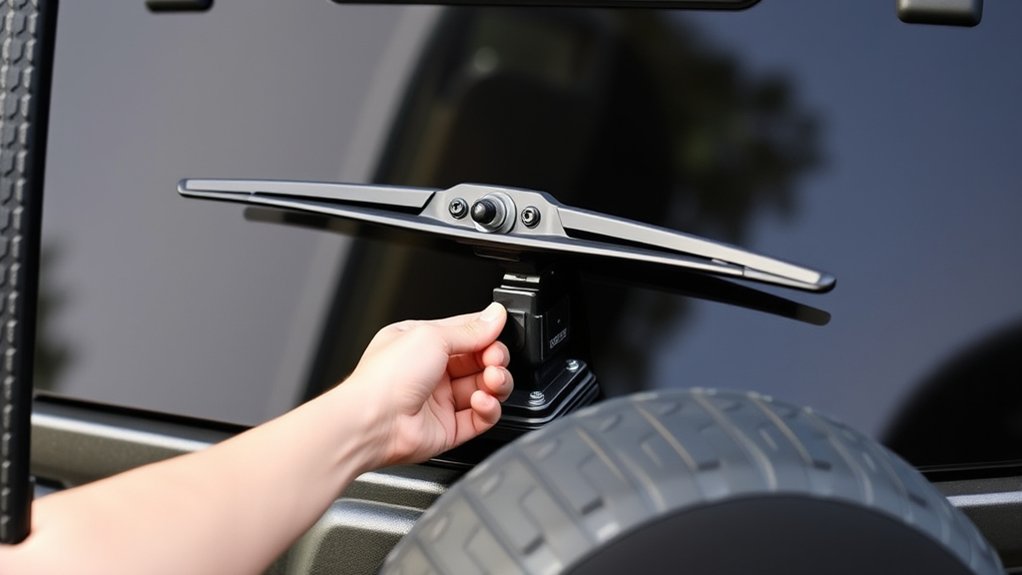
Once you’ve gathered all the necessary tools, locate the rear wiper arm on your Jeep Wrangler’s tailgate. The arm extends from the wiper motor assembly near the center of the rear window. To access it fully, open the tailgate for better reach and visibility.
Clear any dirt or debris around the base of the wiper arm to avoid interference during removal. If your Jeep has a rear window defroster, be careful not to damage the wiring nearby.
Position yourself so you can clearly see the wiper arm’s mounting point where it connects to the motor shaft. This will make the next steps easier and prevent accidental damage.
With the area clean and accessible, you’re ready to proceed to the next step.
Remove the Rear Wiper Cap to Reveal the Mounting Nut
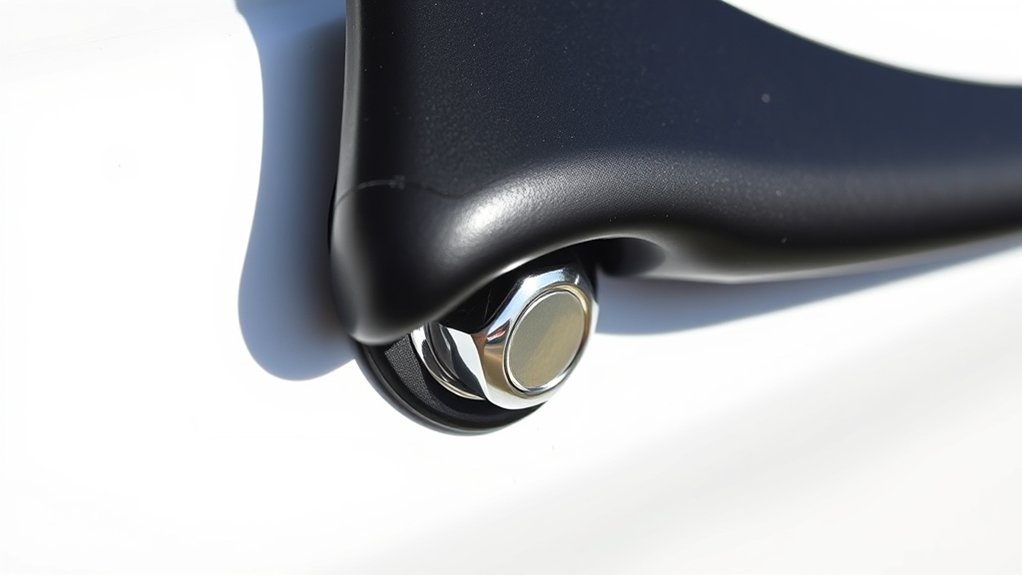
First, locate the rear wiper cap at the base of the wiper arm—it’s usually a small, removable cover.
You’ll need a flathead screwdriver or a plastic pry tool to gently pop it off without damaging the paint.
Once removed, you’ll see the mounting nut that holds the wiper arm in place.
Locating The Rear Wiper Cap
Although the rear wiper arm may seem straightforward, you’ll need to locate the rear wiper cap to access the mounting nut beneath it. The cap hides the nut that secures the wiper arm to the motor shaft. Usually, it sits right where the arm meets the glass of your Jeep Wrangler’s rear window.
Here’s how to spot the rear wiper cap:
- Look for a small, round cover at the base of the wiper arm.
- Check for a slight lip or edge that can be pried up gently.
- Identify any color or texture difference from the arm, often black plastic.
Once you find this cap, you’ll be ready to remove it and expose the mounting nut for the next step.
Tools Needed For Removal
Before you can remove the rear wiper arm, you’ll need a few basic tools to take off the rear wiper cap and access the mounting nut underneath. Start with a flathead screwdriver or a plastic pry tool to gently pop off the wiper cap without damaging the paint or plastic.
Once the cap is off, you’ll need a socket wrench with the correct sized socket—usually 13mm or 15mm—to loosen and remove the mounting nut.
Having a pair of gloves is helpful to improve grip and protect your hands during the process. Keep these tools within reach before you begin, so you can work efficiently and safely.
With these tools ready, you’ll be set to remove the rear wiper arm smoothly.
Loosen and Remove the Mounting Nut
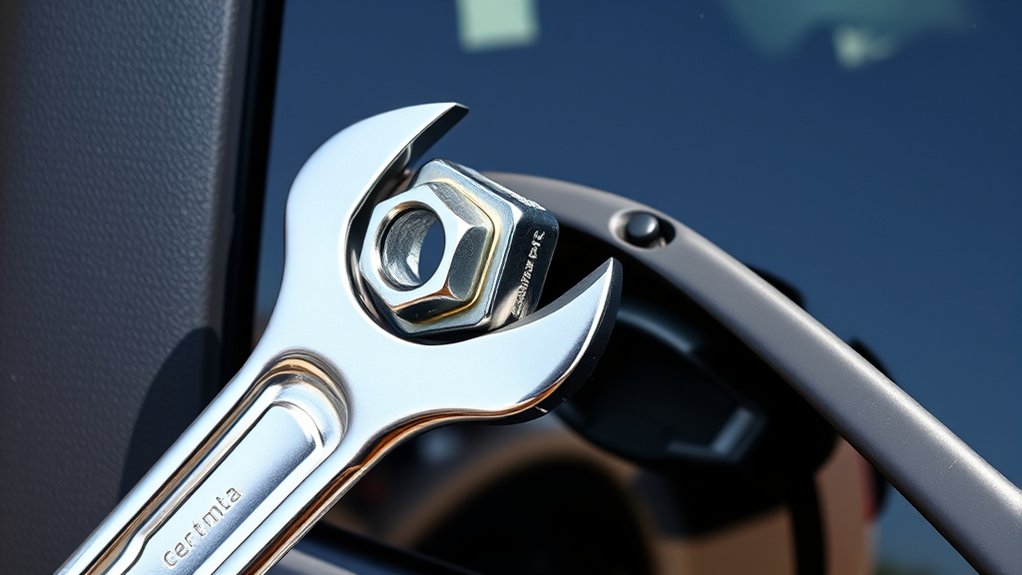
Once you’ve accessed the rear wiper arm, you’ll need to loosen the mounting nut that secures it to the vehicle. Start by locating the nut at the base of the wiper arm. Use a wrench or socket set to turn the nut counterclockwise, applying steady pressure to avoid stripping it.
If the nut is tight or stuck, a penetrating lubricant can help loosen it.
Keep these tips in mind:
- Use the correct socket size to prevent rounding off the nut.
- Hold the wiper arm steady while loosening the nut to avoid damaging the motor shaft.
- Be cautious not to drop the nut once it’s fully loosened.
Once loosened, you’ll be ready for the next step in removing the wiper arm.
Detach the Rear Wiper Arm From the Motor Shaft

Now that you’ve loosened the mounting nut, locate the rear wiper arm on the motor shaft.
Carefully grip the arm and gently pull it straight off the shaft to avoid bending or damaging it.
If it feels stuck, wiggle it slightly while pulling to ease it free.
Locate The Wiper Arm
Where exactly do you find the rear wiper arm on your Jeep Wrangler? It’s located on the rear window, attached directly to the motor shaft that controls its movement. To begin, you’ll need to visually identify the arm’s base where it connects to the motor. This is key for removing it properly without causing damage.
Here’s how to locate it effectively:
- Look at the rear window’s center or lower section for the arm.
- Trace the arm down to where it meets the motor shaft.
- Check for any protective covers or caps hiding the connection.
Once you’ve pinpointed the wiper arm’s location, you’re ready to move on to loosening the retaining nut and removing the arm safely.
Loosen The Retaining Nut
After you’ve located the rear wiper arm on your Jeep Wrangler and identified where it attaches to the motor shaft, the next step is to loosen the retaining nut that holds it in place. Use a socket wrench or suitable tool to carefully turn the nut counterclockwise. Make sure to keep the wrench steady to avoid slipping and damaging any parts. This nut secures the arm firmly, so loosening it is essential before you can remove the arm.
| Step | Tool Required | Tip |
|---|---|---|
| Identify nut | Visual inspection | Usually covered by a cap |
| Remove cap (if any) | Flathead screwdriver | Gently pry off |
| Select socket size | Socket wrench | Match nut size precisely |
| Loosen nut | Socket wrench | Turn counterclockwise slowly |
| Check looseness | Hand | Nut should move freely |
Gently Pull Off Arm
A firm but careful grip is key when you gently pull the rear wiper arm off the motor shaft. After loosening the retaining nut, you want to avoid bending or damaging the arm or shaft.
Hold the arm close to the base, then pull upward with steady pressure. It may take a little wiggling, but don’t force it too hard.
Keep these tips in mind:
- Use a cloth or glove to improve grip and protect the arm’s finish.
- If the arm feels stuck, try gently rocking it side to side to loosen corrosion.
- Avoid using metal tools to pry the arm off, as they can damage the motor shaft.
With patience, the arm will pop free, allowing you to proceed with your replacement or repair.
Inspect the Wiper Arm and Shaft for Damage or Wear
Before proceeding with the removal, carefully inspect the wiper arm and shaft for any signs of damage or wear. Look closely for cracks, bends, or rust on the wiper arm that could affect its performance.
Check the shaft for corrosion or play, which might indicate a worn or loose connection. If the arm feels loose or wobbly when you gently move it, the shaft or mounting point may be compromised.
Also, examine the splines on the shaft for wear or rounding, as this can prevent the arm from seating properly when reinstalled.
Catching these issues now helps you decide if parts need replacing before you reinstall or continue with repairs. A thorough inspection guarantees your rear wiper will function reliably once back in place.
Reinstall or Replace the Rear Wiper Arm and Test It
Once you’ve checked the wiper arm and shaft for any damage or wear, you can decide whether to reinstall the existing arm or replace it with a new one.
To reinstall, align the arm onto the shaft, ensuring it sits properly. Tighten the retaining nut securely but avoid overtightening.
If replacing, simply position the new arm the same way and secure the nut.
After securing the arm, test it by:
- Turning on the rear wiper to check for smooth movement without any wobble
- Ensuring the wiper blade contacts the glass evenly for effective cleaning
- Listening for any unusual noises indicating improper installation or damage
This testing guarantees your rear wiper functions reliably and keeps your Jeep Wrangler’s rear window clear.
Frequently Asked Questions
What Causes Rear Wiper Arm Malfunction on a Jeep Wrangler?
You’ll find rear wiper arm malfunctions on your Jeep Wrangler often caused by worn-out motor components, rusted or loose wiper arms, electrical issues, or debris blocking movement. Regular maintenance helps prevent these problems from occurring.
Can a Damaged Rear Wiper Arm Affect Rear Visibility?
Yes, a damaged rear wiper arm can seriously affect your rear visibility by leaving streaks or patches of dirt on the window. You’ll want to fix or replace it quickly to maintain clear sight while driving.
How Often Should the Rear Wiper Arm Be Replaced?
You should replace your rear wiper arm every 1-2 years or whenever you notice streaking, skipping, or damage. Regular checks help maintain clear visibility and safety, especially during adverse weather conditions.
Are There Any Specific Jeep Wrangler Models With Different Rear Wiper Arms?
Picture your Jeep Wrangler’s rugged tailgate—yes, some models like the TJ and JK have different rear wiper arms. You’ll want to check your specific year and trim to grab the right fit and avoid frustration.
Can I Use a Universal Wiper Arm on My Jeep Wrangler?
You can’t usually use a universal wiper arm on your Jeep Wrangler because the fit and connection style differ. It’s best to get a model-specific arm to guarantee proper fit, function, and durability.
Conclusion
Now that you’ve danced through each step, removing the rear wiper arm feels like a breeze on an open road. With tools in hand and patience as your co-pilot, you’ve untangled the stubborn grip of that mounting nut and set the arm free. Whether you’re fixing or replacing, remember: every twist and turn brings you closer to a smoother, clearer view behind you—ready to face the elements with confidence and ease.