How to Remove Jeep Gladiator Hard Top in 5 Easy Steps
To remove your Jeep Gladiator hard top, start by gathering tools like a Torx screwdriver and prepping a clear, flat workspace with gloves on. Next, release and lift off the rear window panels carefully, then disconnect bolts and wiring securing the hard top to the roll bars. With help, lift the hard top slowly and set it on a padded surface to avoid damage. Finally, store it in a dry, shaded area. Keep following for detailed tips on each step.
Gather Tools and Prepare Your Jeep Gladiator
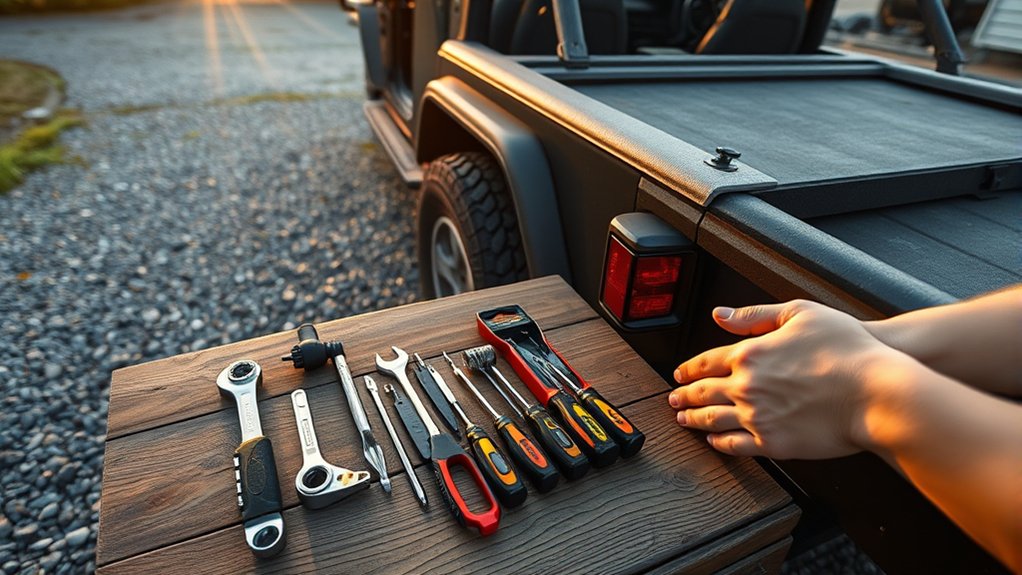
Before you begin removing the hard top, make sure you have all the necessary tools ready and your Jeep Gladiator parked on a flat, stable surface.
You’ll need a Torx screwdriver or bit set, typically a T40, to remove the bolts securing the hard top.
It’s also helpful to have a soft blanket or padding nearby to safely place the hard top once removed.
Confirm your work area is clear and free of obstacles to prevent any damage.
Double-check that the vehicle is in park with the parking brake engaged for safety.
Wearing gloves can improve your grip and protect your hands.
Taking these steps will make the removal process smoother and keep both you and your Jeep safe.
Remove Rear Window Panels From Your Jeep Gladiator
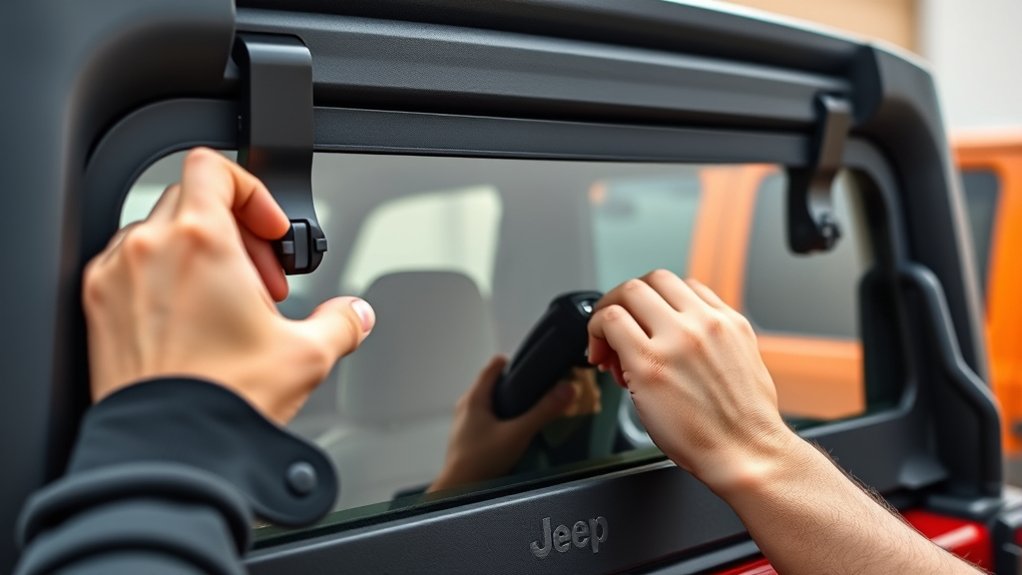
Once you’ve prepared your tools and secured your Jeep, start by removing the rear window panels to gain better access to the hard top bolts. Begin by unlatching the window locks on each panel. Carefully lift the window panels upward to disengage them from the frame. Store them safely to avoid damage.
Follow this quick reference to remove the rear window panels:
| Step | Action | Tip |
|---|---|---|
| 1 | Unlock window latches | Use gentle pressure |
| 2 | Lift panels upward | Avoid forcing to prevent cracks |
| 3 | Detach from frame | Check for hidden clips |
| 4 | Store panels securely | Place on a soft surface |
This will clear the way for the next steps in removing your hard top.
Disconnect the Hard Top From the Roll Bars
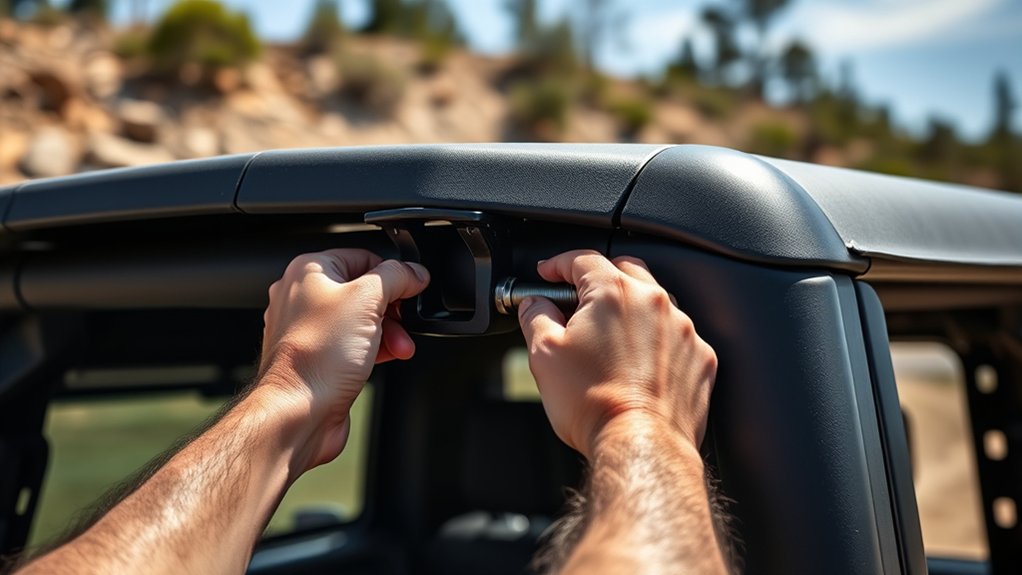
With the rear window panels removed and safely set aside, you can now focus on disconnecting the hard top from the roll bars.
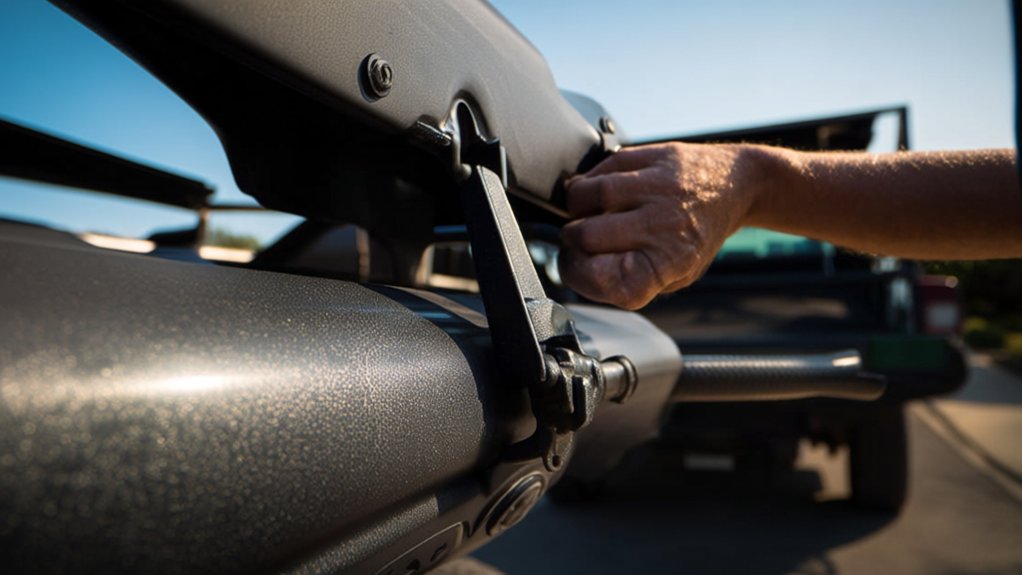
Start by locating the bolts or quick-release knobs securing the hard top to the roll bars. Use the appropriate tool, usually a socket wrench or your hands for knobs, to carefully loosen and remove these fasteners. Be sure to keep all hardware in a safe place for reinstallation.
Check for any wiring or connectors attached to the hard top, such as brake lights or defrosters, and disconnect them gently.
Take your time to guarantee everything is fully detached from the roll bars, preventing any damage. Once done, your hard top will be free from the roll bars, ready for removal in the next step.
Lift Off the Hard Top With Help
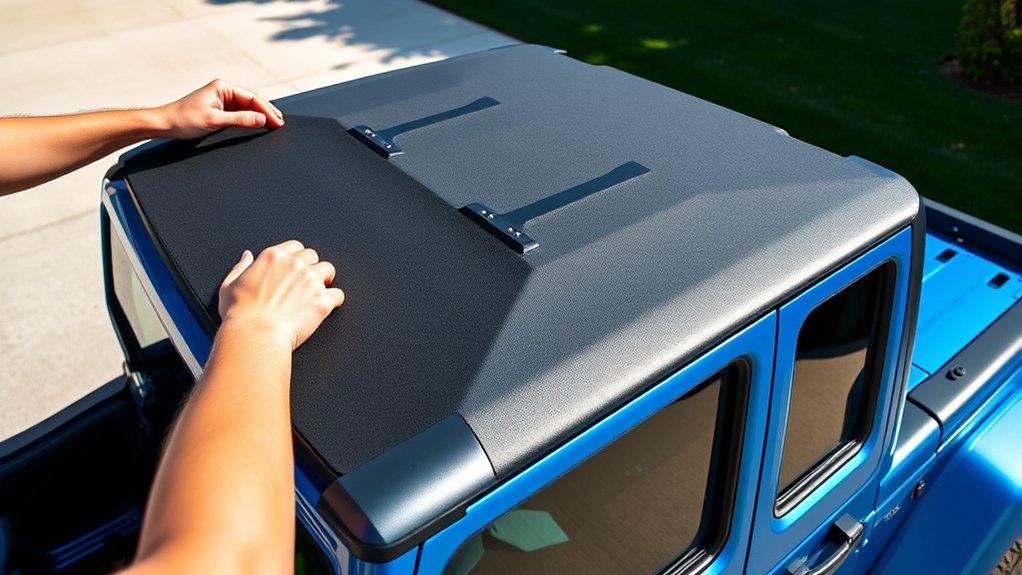
Although the hard top is now fully detached, lifting it off by yourself can be challenging due to its size and weight. It’s best to get a friend or family member to help you with this step.
Position yourselves on opposite sides of the hard top, making sure you have a solid grip near the edges. Lift slowly and steadily, keeping the top balanced to avoid any damage.
Communicate clearly with your helper to coordinate your movements, especially when maneuvering the hard top away from the Jeep.
Once lifted, take care to set it down gently on a padded surface or a soft blanket to prevent scratches or dents.
Having help makes this process safer and much more manageable.
Store Your Jeep Gladiator Hard Top Properly
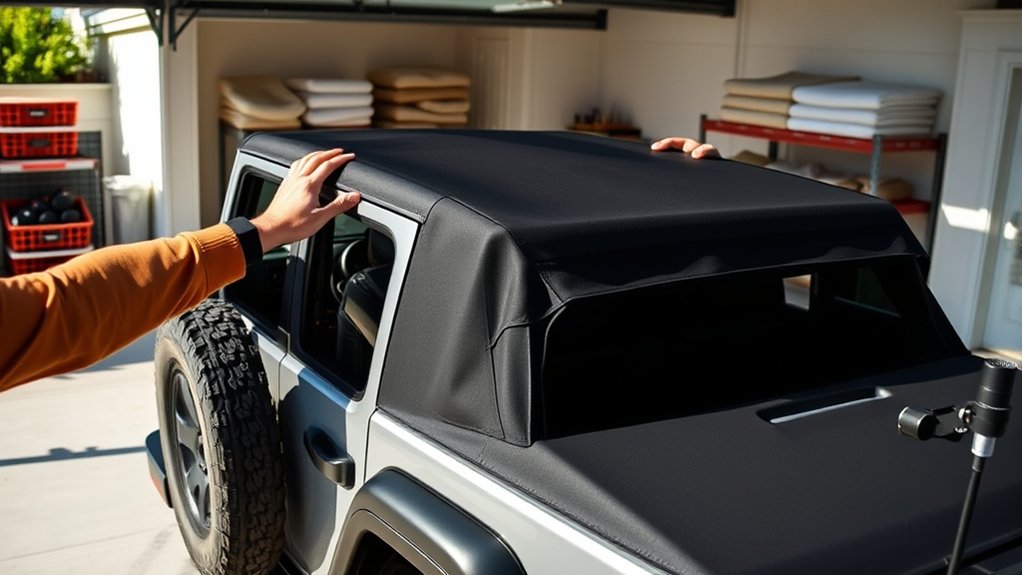
After you’ve carefully lifted off the hard top, you’ll want to store it properly to keep it in great condition. Start by choosing a clean, dry area away from direct sunlight and moisture.
Place the hard top on a sturdy surface or use a padded stand to prevent scratches and dents. If you have the original storage rack or a specialized hard top stand, use it to support the weight evenly.
Cover the hard top with a breathable cover or tarp to protect it from dust and debris. Avoid stacking heavy objects on top of it.
Finally, check on it periodically to verify no damage or moisture buildup occurs. Proper storage will extend the life of your Jeep Gladiator hard top and keep it ready for your next adventure.
Frequently Asked Questions
Can I Remove the Hard Top by Myself Safely?
Yes, you can safely remove the hard top by yourself if you take your time, use proper tools, and follow safety precautions. Having a helper makes it easier, but with patience, you can manage solo.
How Do I Clean the Hard Top After Removal?
You should rinse the hard top with water first, then use a mild soap and a soft sponge to scrub gently. Avoid harsh chemicals, rinse thoroughly, and dry it with a microfiber cloth to prevent scratches and water spots.
Will Removing the Hard Top Affect My Jeep’s Warranty?
Removing your Jeep’s hard top generally won’t void the warranty, as long as you don’t damage the vehicle or use non-approved parts. Always check your warranty terms and consult your dealer to be sure before making changes.
What Are the Best Weather Conditions for Removing the Hard Top?
You’ll want to remove the hard top on a dry, mild day without strong winds or rain. Avoid extreme heat or cold to prevent damage and make handling easier. Moderate temperatures keep seals and materials flexible.
How Do I Reinstall the Hard Top Correctly?
You’ll want to treat your hard top like a priceless crown—align every bolt perfectly, secure the latches tightly, and double-check seals to avoid leaks. Don’t rush; your Jeep deserves the royal treatment every time!
Conclusion
Removing your Jeep Gladiator hard top is simple when you prepare well, work carefully, and ask for help. You’ll protect your vehicle, preserve your hard top, and guarantee safety along the way. You’ll feel confident, stay organized, and enjoy the process. By following these steps, you’ll not only remove your hard top efficiently but also maintain your Jeep’s quality and your peace of mind. Take pride, stay patient, and drive free.