How to Change Brake Light on Jeep Renegade in 10 Easy Steps
To change the brake light on your Jeep Renegade, first pick the right bulb by checking your manual. Gather tools like screwdrivers and gloves, then open the rear hatch to access the tail light assembly. Remove screws and carefully pull out the assembly. Twist the bulb socket counterclockwise, swap the old bulb for a new one, and reconnect the socket securely. Test the light, reattach the cover, and guarantee it’s snug. Follow these steps, and you’ll have your brake light working safely in no time with tips to keep it lasting longer.
Choose the Right Brake Light Bulb for Your Jeep Renegade
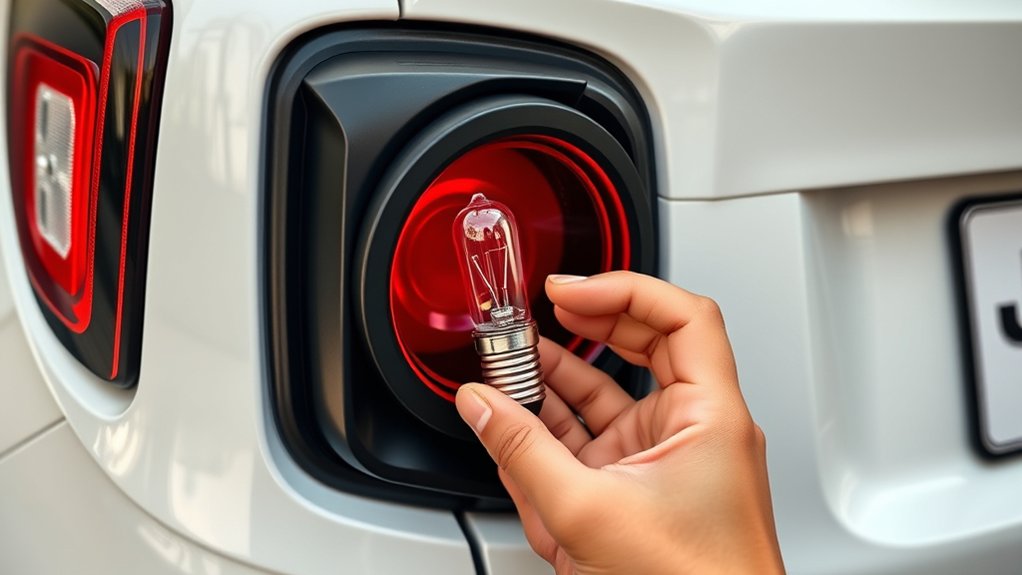
Before you replace the brake light on your Jeep Renegade, you need to choose the correct bulb. Start by checking your owner’s manual or the existing bulb for the exact type and size.
Jeep Renegade models often use specific bulbs like the 3157 or 7443, but this can vary by year and trim. Using the wrong bulb can lead to poor fit, reduced brightness, or even electrical issues.
Opt for quality bulbs from reputable brands to guarantee longevity and proper performance. You might also consider LED bulbs as an upgrade—they offer brighter light and last longer than traditional incandescent bulbs.
Confirm compatibility before purchasing to avoid any installation headaches. Getting the right bulb is essential for safety and maintaining your vehicle’s functionality.
Gather Tools and Prepare Your Workspace for Jeep Renegade Brake Light Replacement
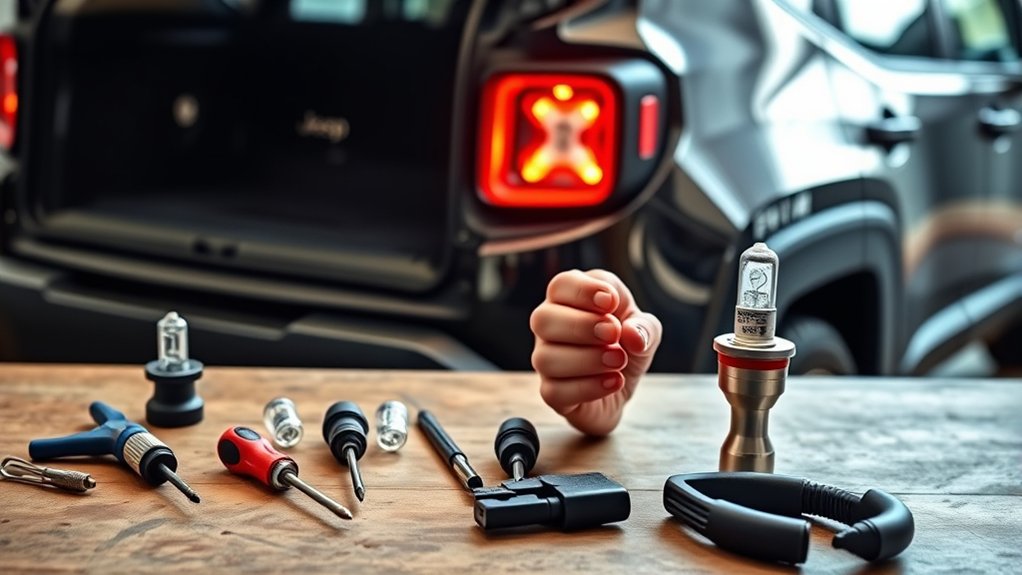
Before you start, make sure you have all the essential tools like screwdrivers, gloves, and the correct replacement bulb.
Clear your workspace to keep everything organized and within reach. A well-prepared area will make the brake light replacement smooth and efficient.
Essential Tools Checklist
Although changing the brake light on your Jeep Renegade might seem straightforward, having the right tools on hand will make the process smoother and faster. Before you start, gather these essentials to avoid interruptions and frustration.
Here’s what you’ll need:
- Phillips and flathead screwdrivers – to remove screws and pry off panels
- Replacement brake light bulb – verify it matches your Jeep Renegade’s specifications
- Socket wrench set – to loosen bolts securing the light assembly
- Gloves – to protect your hands and keep the bulb clean from oils
With these tools ready, you’ll be well-prepared to swap out the brake light efficiently and safely. Keep them within reach, and you’ll breeze through the task with confidence.
Workspace Preparation Tips
Since a well-organized workspace can make any repair quicker and less stressful, you’ll want to clear an area around your Jeep Renegade that’s well-lit and free of clutter. Make certain you have enough room to move around comfortably and access the rear of the vehicle without obstacles.
Lay down a protective mat or cloth to keep small parts from rolling away. Gather all the necessary tools—like screwdrivers, gloves, and replacement bulbs—before you start. Having everything within reach means you won’t waste time hunting for items mid-task.
Also, guarantee your vehicle is parked on a level surface and the engine is off with the parking brake engaged. Taking these steps will set you up for a smooth and efficient brake light replacement process.
Access the Brake Light Assembly on Your Jeep Renegade
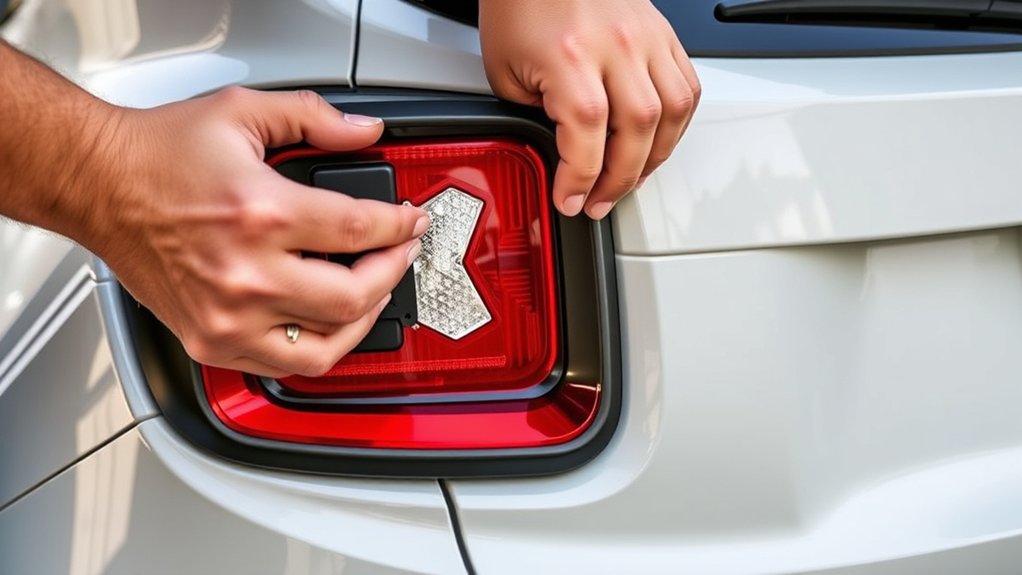
First, locate the rear light housing on your Jeep Renegade.
Then, remove the tail light screws using the appropriate tool.
Finally, carefully detach the light assembly to access the brake light.
Locate Rear Light Housing
Before you can replace the brake light on your Jeep Renegade, you need to locate the rear light housing where the brake light assembly is secured. This housing is found at the back corners of your vehicle, easily accessible once you open the rear hatch.
To find it quickly, follow these tips:
- Stand behind your Jeep Renegade and look to the upper corners of the rear.
- Identify the clear or red plastic covers—these are the rear light housings.
- Open the rear hatch to access the interior side of the housing.
- Look for the panel or cover inside the trunk area that aligns with the brake light.
Locating the rear light housing correctly ensures you can safely and efficiently proceed to the next steps in replacing your brake light.
Remove Tail Light Screws
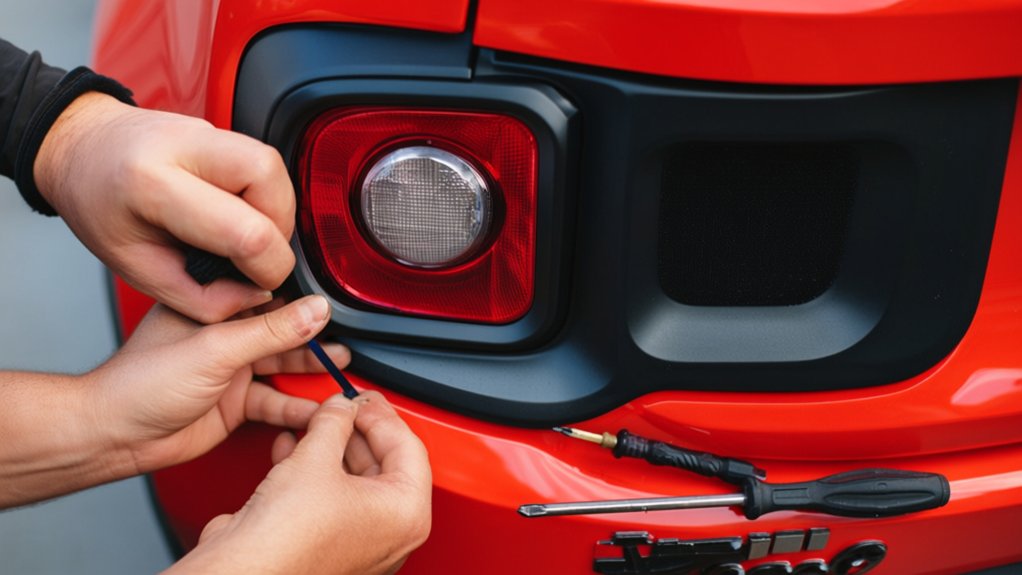
Once you’ve opened the rear hatch and located the light housing, you’ll need to remove the screws holding the tail light in place to access the brake light assembly.
Grab a suitable screwdriver—usually a Phillips head—and carefully unscrew each fastener. Keep the screws somewhere safe so you don’t lose them.
Depending on the model year, there might be two or three screws securing the tail light. Take your time to avoid stripping the heads.
If the screws feel stuck, apply gentle pressure or use a bit of penetrating oil to loosen them.
Removing these screws is essential because it frees the tail light housing, allowing you to reach the brake light bulb for replacement.
Once all screws are out, you’re ready for the next step.
Detach Light Assembly Carefully
After removing the screws securing the tail light, gently pull the light assembly away from the vehicle. You’ll want to be careful here to avoid damaging the clips or wiring. The assembly may feel snug, so use steady, even pressure.
As you detach it, keep these tips in mind:
- Handle the light assembly with clean hands to avoid dirt inside the housing.
- Avoid pulling on the wiring harness; instead, support the assembly itself.
- Look for any hidden clips or connectors that might still be attached.
- Set the light assembly on a soft surface to prevent scratches or cracks.
Once detached, you’ll have clear access to the brake light bulb for replacement. Take your time, and don’t rush this step to keep everything intact.
Remove the Brake Light Cover Safely
How exactly do you remove the brake light cover on your Jeep Renegade without causing damage? First, make sure the vehicle is off and the brake light assembly is detached carefully.
Locate the small tabs or screws holding the cover in place. If there are screws, use a suitable screwdriver to remove them gently.
For tabs, press or pry them slowly with a plastic trim tool to avoid scratching or cracking the cover. Avoid using metal tools that might damage the plastic.
Once the fasteners are released, carefully lift the cover away from the assembly. Take your time and apply even pressure, so you don’t snap any clips or bend the cover.
With these steps, you’ll safely remove the brake light cover, ready for the next part of the process.
Unplug the Brake Light Bulb Socket
Before you can replace the brake light bulb, you’ll need to unplug the bulb socket from the assembly. This step guarantees you can safely remove the old bulb without damaging any components.
Follow these simple actions:
- Locate the bulb socket at the back of the brake light assembly.
- Grip the socket firmly and twist it counterclockwise to release it.
- Gently pull the socket straight out from the assembly.
- Avoid pulling on the wires to prevent damage.
Remove the Burned-Out Brake Light Bulb
Now that you’ve unplugged the brake light socket, you can access the burned-out bulb.
Carefully twist or pull the old bulb out of its socket, depending on the type it uses.
Make sure you handle it gently to avoid damaging the socket.
Accessing The Brake Light
Although accessing the brake light might seem tricky at first, you can easily reach the burned-out bulb by opening the rear hatch and locating the taillight assembly. Here’s how to get to it:
- Open the rear hatch fully to give yourself enough room to work.
- Remove the interior trim panel near the taillight by gently prying it off.
- Locate the taillight housing bolts or screws and carefully unscrew them.
- Pull the taillight assembly slightly outward to expose the bulb socket.
Once you complete these steps, you’ll have clear access to the brake light bulb socket.
Make sure to handle the components carefully to avoid damage. Now, you’re ready to move on to removing the old bulb safely.
Removing The Old Bulb
With the taillight assembly accessible, you can focus on removing the burned-out brake light bulb. First, twist the bulb socket counterclockwise to unlock it from the assembly. Carefully pull the socket out, exposing the bulb. Gently grasp the old bulb and pull it straight out from the socket. Avoid twisting it as this can damage the socket or bulb holder. If the bulb feels stuck, wiggle it slightly while pulling. Once removed, inspect the socket for corrosion or damage before installing the new bulb.
| Step | Action | Tip |
|---|---|---|
| 1 | Twist socket counterclockwise | Use moderate force |
| 2 | Pull socket out | Hold socket firmly |
| 3 | Grasp old bulb | Avoid twisting |
| 4 | Pull bulb straight out | Wiggle if stuck |
| 5 | Inspect socket | Check for corrosion/damage |
Install the New Brake Light Bulb Correctly
Before securing the new brake light bulb, make certain it matches the specifications of your Jeep Renegade to guarantee proper function. Once confirmed, handle the bulb carefully to avoid damaging it.
Follow these steps to install it correctly:
- Align the bulb’s base with the socket, making sure it fits snugly without forcing.
- Insert the bulb straight into the socket until you feel it click or sit firmly.
- Avoid touching the glass part of the bulb with your fingers, as oils can shorten its lifespan.
- Double-check the bulb’s position to ensure it’s seated evenly and securely in the housing.
Reconnect the Bulb Socket and Test the Brake Light
Once you’ve installed the new brake light bulb, reconnect the bulb socket carefully to guarantee a secure connection. Align the socket with the bulb base, then push it in until it clicks or feels firmly seated. This ensures the electrical contacts connect properly, preventing any flickering or failure.
After securing the socket, turn on your Jeep Renegade and press the brake pedal to test the brake light. Have someone watch the light or back up to see the reflection clearly. If the light illuminates brightly, you’ve successfully completed this step.
If it doesn’t, double-check the connection or inspect the bulb for damage. Proper testing confirms your brake light is fully operational before you move on.
Reattach the Brake Light Cover Securely
Since the bulb is tested and working properly, you can now reattach the brake light cover securely. This step guarantees the light is protected from dust, moisture, and damage while maintaining your Jeep Renegade’s sleek look.
Follow these steps to reattach the cover correctly:
- Align the cover with the mounting points on the tail light assembly.
- Press firmly but gently to snap the cover back into place.
- Check that all clips or screws are fully engaged to prevent any gaps.
- Wipe the cover clean with a soft cloth to remove fingerprints or dirt.
Taking care during this step helps avoid rattles and keeps your brake light functioning safely and reliably on the road.
Maintain Your Jeep Renegade Brake Lights for Longevity
After securely reattaching the brake light cover, it’s important to focus on maintaining your Jeep Renegade’s brake lights to guarantee they last longer and perform reliably. Regular checks help spot issues early, while cleaning the lens ensures visibility. Replace bulbs promptly when dim or flickering, and avoid harsh chemicals that can damage the cover. Proper maintenance saves you time and money.
| Maintenance Task | Frequency | Tips |
|---|---|---|
| Check bulbs | Monthly | Test brake lights before driving |
| Clean lens | Every 2 months | Use mild soap and water |
| Inspect wiring | Every 6 months | Look for frays or corrosion |
| Replace bulbs | When dim/flicker | Use OEM or quality bulbs |
| Avoid harsh chemicals | Always | Protect lens surface |
Frequently Asked Questions
Can LED Bulbs Be Used Instead of Standard Brake Light Bulbs?
You can absolutely swap standard brake bulbs with LED ones—they shine like stars in the night. Just make sure your Jeep supports LEDs or use a resistor to avoid flickering or error codes on your dashboard.
How Often Should Brake Light Bulbs Be Replaced on a Jeep Renegade?
You should replace brake light bulbs on your Jeep Renegade whenever they burn out or show signs of dimming. Regularly check them during routine maintenance to guarantee safety and avoid unexpected failures while driving.
What to Do if the Brake Light Still Doesn’T Work After Bulb Replacement?
If your brake light still refuses to shine after changing the bulb, don’t fret! Check the fuse, inspect the wiring for damage, and verify the socket’s clean. If all fails, have a pro diagnose the issue fast!
Are There Any Legal Requirements for Brake Light Brightness or Color?
Yes, you’ve got to follow legal standards for brake light brightness and color, typically red. Make certain your lights meet local regulations to ensure safety and avoid fines—check your state’s vehicle codes for exact requirements.
Can I Change the Brake Light Bulb Myself Without Professional Help?
Yes, you can change the brake light bulb yourself without professional help. Just make certain to disconnect the battery, access the light housing, carefully swap the bulb, and test it before reassembling to guarantee safety and proper function.
Conclusion
Changing your Jeep Renegade’s brake light is simpler than you might think, and keeping them in top shape is essential—did you know that 30% of rear-end collisions happen because of faulty brake lights? By following these steps, you’ll boost your safety and avoid costly repairs. With a bit of care and maintenance, your brake lights will keep shining bright, ensuring you and others stay safe on the road every time you hit the brakes.